Hashtags and Groups
Tags
On GNU social you will sometimes see words with a # or a ! in front of
them. The first is a hashtag; the second is a group. They are both ways of
linking together posts that relate to the same topic. They work in different
ways.
Hashtags
Using hashtags
If you put a # in front of a word like #this then that word becomes a
clickable link. When you click it you are shown messages from everyone that
contain that same hashtag. It allows you to quickly find others who were
posting about the same topic, or to bring your post to the attention of those
who are watching the tag. Twitter turned the concept into a household name and
it’s now a staple of microblogging.
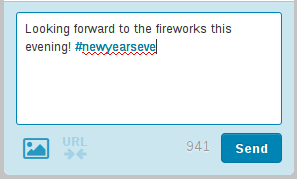
Click on the link in a post to see all posts that include the tag:
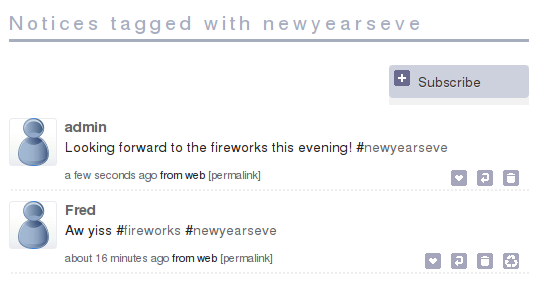
Note that this cannot show posts from the entire GNU social network. This limitation is explained more in the next section.
For network-wide conversations about particular topics, see the section about
Groups. Groups perform a similar function to hashtags and they use a
! instead of a #.
The limited reach of hashtags
Hashtags are somewhat limited in GNU social because your server does not have a complete view of the network. Suppose your server has 10 accounts on it. Obviously it knows about every post that those 10 people make. If each person follows 10 different people on remote servers, that’s 100 extra people. All together your server knows about the posts from 110 accounts.
If you click on a hashtag on your server, it’s only ever possible to see posts from those 110 people.
Note also that hashtags are linked to the server where you posted. If your
account is on quitter.no and you use the tag #newyearseve, anyone who
clicks on it will see quitter.no’s list. If somebody on quitter.se uses the
same tag, clicking on that tag will show you quitter.se’s list. These lists
might be different because each server has a different view of the network.
The GNU social federation has lots of benefits but you can see that it makes hashtags a little complicated. Groups are a popular alternative that are more reliable.
Hashtag subscriptions
You can subscribe to hashtags on your own server. This means that any time your server sees a post containing the hashtag, that post will appear in your Home timeline regardless of whether you normally follow the person who sent it.
The button to subscribe appears when you click on a hashtag. Note that this is not visible if you are using Qvitter (i.e. any of the “quitter” servers). You can access it by switching to the “classic” mode.

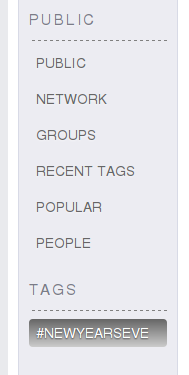
Once you are subscribed, not only will those posts appear in your home timeline, but you will also get quick access to the tag in your left menu. From there you can unsubscribe again.
Groups
Joining groups
A group is effectively a noticeboard hosted on a particular server. If you join as a member of a group you can post messages to it by including a group tag. Every time a member makes a post to the group it is submitted to the hosting server. The hosting server then passes it on to all the members. This means that if you join you are guaranteed to see every post in your Home timeline. This is different from subscribing to Hashtags, which are shown on a best-effort basis.
You will probably first notice a group in your timeline as a link you can click:

Clicking on the word !tinsel takes you to the group page on the hosting
server. If you want to join the group, click the Join button:

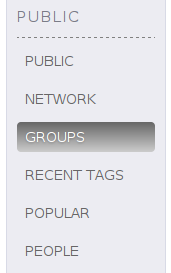
You can also browse groups on your server by clicking on the Groups menu item:
To post a message to the group, first ensure you have joined. Then use its
nickname inside your post, like !tinsel.
Creating groups
If you want to start a new group on your own server then you can do that. Click on Groups in the menu item and then click the Create a new group link:
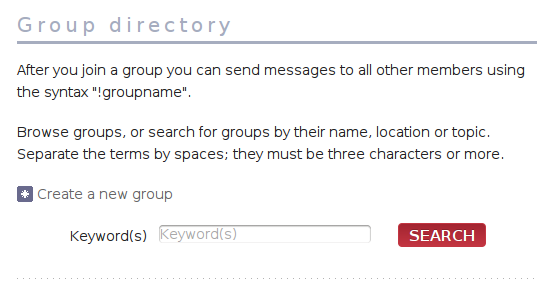
You will have to fill in some initial information about the new group, like this:
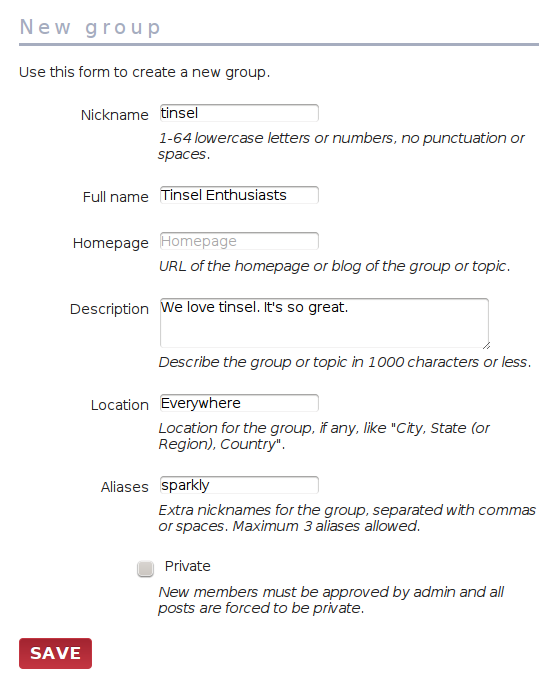
Once the group is created, anyone who has joined can post to it by using its
nickname (!tinsel) or any of its aliases (!sparkly).
You will start off as the single administrator of the group. When you visit the group page on your server you will have links to edit settings and set a logo.
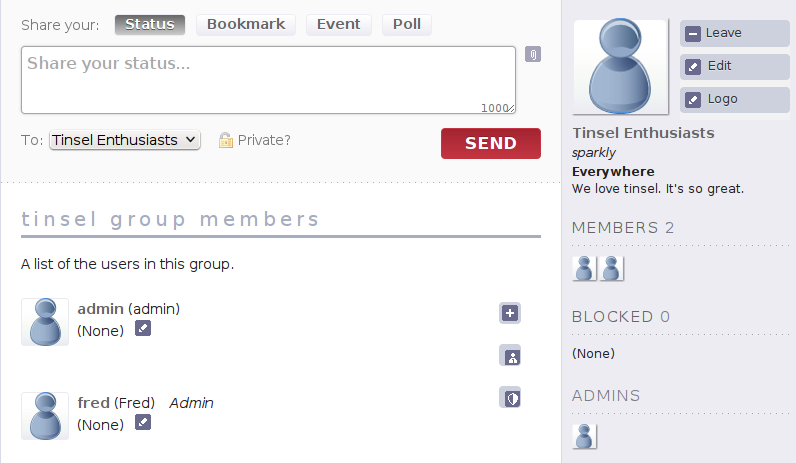
To make another user an admin of the group, click the relevant button next to them:
